Select Export in the editor header to deliver the active Timeline. The button is disabled while that Timeline is empty, so add at least one clip first.
Open the panel and choose an output
- Switch to the Timeline you intend to deliver.
- Select Export in the top bar.
- Choose the tab that matches the handoff.
| Tab | Result | Detailed guide |
|---|---|---|
| Video | H.264/MP4 or VP8/WebM finished video | Video, audio, and subtitles |
| Audio | Audio-only MP3 | Video, audio, and subtitles |
| Graphics | One transparent ProRes 4444 MOV per motion graphic | Transparent motion graphics |
| Subtitles | SRT or plain-text TXT from the active caption track | Video, audio, and subtitles |
| XML | FCP7 XMEML for Premiere Pro or DaVinci Resolve | Premiere / DaVinci XML |
| CapCut / Jianying | Editable destination-app draft | Editable Jianying / CapCut drafts |
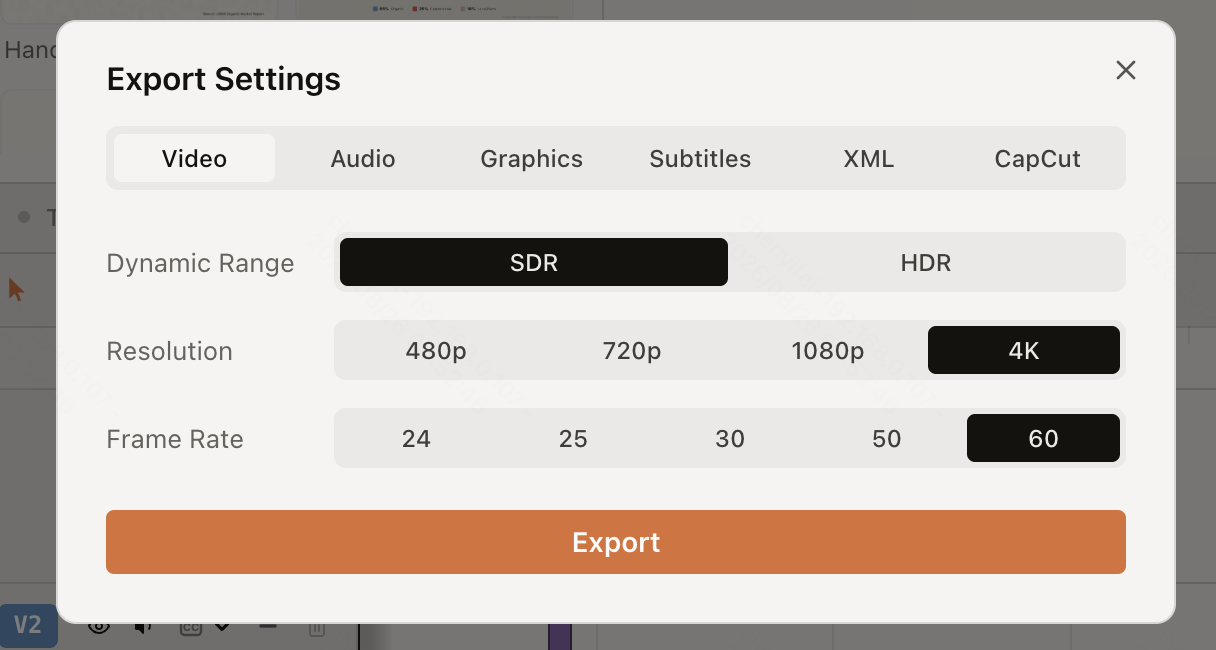
The CapCut or Jianying tab appears only when ChatCut Desktop detects a compatible installation on the same computer. It creates an editable project draft, not a finished video.
For video and audio in the web app or Agent Plugin, ChatCut automatically renders in the open browser when the timeline and device are compatible, then falls back to cloud rendering when needed. You do not choose the renderer manually. See Web vs Desktop Export for quota, browser-tab, and Desktop differences.
Find the task after starting
File exports appear in the queue below the header Export button. Keep the editor open, then use Download again, View, Retry, Show in Finder, or Open when that action appears. See Export Queue, Downloads, and Retries for the queue’s retention limits.